How to Create Your Own Blog with Github Pages and Jekyll

In this tutorial, I will try to explain all the necessary steps to create your own blog using github pages and Jekyll. I will assume that you have already known git and how to use it. If you don’t, you do not need to worry at all. There are many tutorials to learn github like this one.
1-)SETTING UP THE BLOG
First Step:
The first thing you need is to create a github repository for your blog and match it with your local files. In order to do this, follow github pages tutorial. It explains how to setup your own website.
Second Step:
So far we managed to create our own website on github, but whatabout Jekyll? What is it? Jekyll is some kind of a system that allows you to create nice HTML webpages without any need to write ugly HTML codes. Instead, it converts your writings which are in markdown format (don’t worry it is super easy) to HTML webpage format. Sounds nice, right?
Until here you should be able to see your website https://username.github.io/ Now it is time to install jekyll.
- First install ruby.
Ubuntu 16.04 or 18.04:
$ sudo apt-get install ruby-dev
Ubuntu 14.04:
$ sudo apt-get install rubygems-integration
Ubuntu 12
$ sudo apt-get install rubygems
- Install jekyll using rubygem
$ sudo gem install jekyll
- Go your website directory
$ cd username.github.io
- It needs to be empty so delete everything
$ sudo rm -rf *
- Now create new jekyll
$ jekyll new .
If you have any problem about bundler in this step install bundler as well
$ sudo gem install bundler
- Run ls to check.
$ ls
config.yaml _posts about.md ...
- Thanks to jekyll we can view our website locally without committing to github. This allows to easily check changes we have made before commits.
$ jekyll serve
This command will publish your website locally. Look for the line
Server address: http://127.0.0.1:4000/
You can see what your website will look like by visiting this local adress in your web browser.
Third Step
If you are happy with the look of your website, you need to publish all the changes to github to make it available at https://username.github.io/
$ git add *
$ git commit -m "Website is online"
$ git push origin master
Now you and everybody else can see your website at https://username.github.io
Congratulations!!
2-)CUSTOMIZE YOUR BLOG
Add Comment Section Into Your Blog
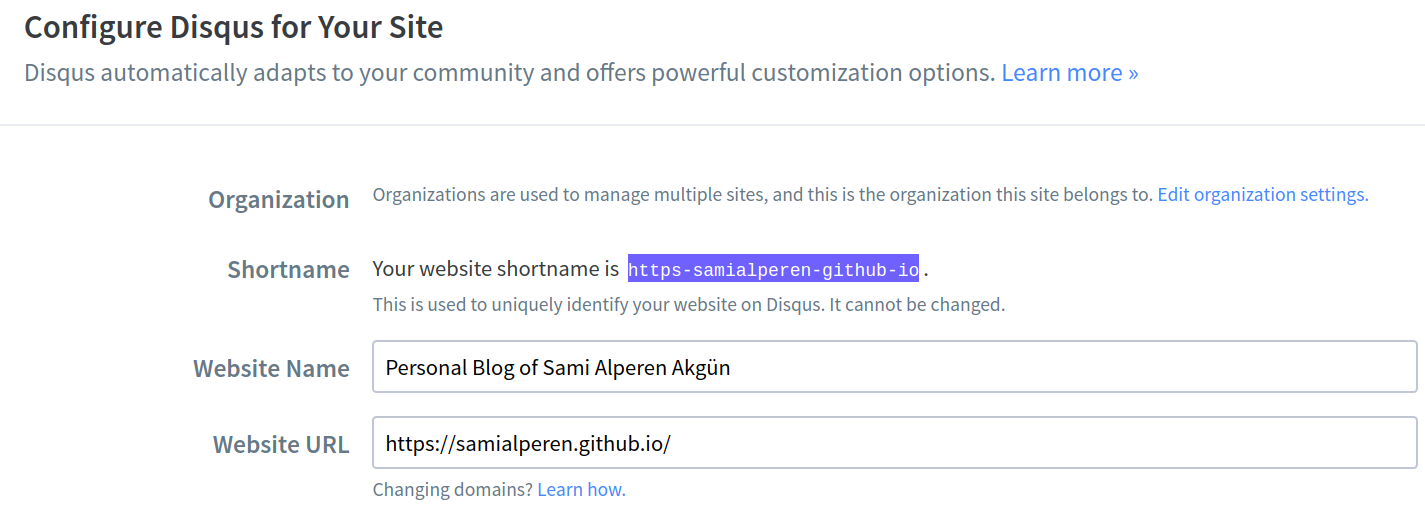
In order to allow readers to comment on your posts, you can use very common service named Disqus. Sign up and do not forget your Disqus username (your website short-name). For me, it is https-samialperen- github-io as it can be seen in below.
Go to your website git repository directory and open _config.yaml
$ cd username.github.io
$ gedit _config.yaml
When you use jekyll new to create your website, it uses jekyll minima theme by default and it is quite easy to add comment section to this theme. If you are using different theme, then the procedure might be different.
At the end of _config.yaml file add this:
disqus:
    shortname: your_disqus_website_shortname
Change your_disqus_website_shortname to yours.
Lastly, do not forget to add your website url in _config.yaml file.
url: "https://username.github.io"
Here is an example _config.yaml:
title: Your awesome title
email: your-email@example.com
description: >- # this means to ignore newlines until "baseurl:"
  Write an awesome description for your new site here. You can edit this
  line in _config.yml. It will appear in your document head meta (for
  Google search results) and in your feed.xml site description.
baseurl: "" # the subpath of your site, e.g. /blog
url: "https://samialperen.github.io"
twitter_username: jekyllrb
github_username:  jekyll

# Build settings
markdown: kramdown
theme: minima
#plugins:
#  - jekyll-feed
disqus:
    shortname: https-samialperen-github-io
Commit and push your changes into github and you can see comment section at the
end of your posts like below:

Write New Blog Posts
Now you will understand power of markdowns and jekyll better. To write new blog posts create a markdown file under username.github.io/_posts directory.
$ cd username.github.io/_posts
$ touch 2019-02-01-github-pages-tutorial.markdown
$ gedit 2019-02-01-github-pages-tutorial.markdown
Write your blog post as you wish regarding markdown syntax. The only thing you need to be careful is markdown file name. It should obey the following format:
YYYY-MM-DD-post-name.markdown
Moreover, at the beginning of the markdown file you need to write a few lines
---
layout: post
title:  "Post Title"
date:   Post-Date    #should be same with filename
---
Here is an example markdown file of jekyll:
---
layout: post
title: "Welcome to Jekyll!"
date: 2019-01-31 16:20:13 +0300
categories: jekyll update
---
You’ll find this post in your `_posts` directory. Go ahead and edit it and re-build the site to see your changes. You can rebuild the site in many different ways, but the most common way is to run `jekyll serve`, which launches a web server and auto-regenerates your site when a file is updated.
To add new posts, simply add a file in the `_posts` directory that follows the convention `YYYY-MM-DD-name-of-post.ext` and includes the necessary front matter. Take a look at the source for this post to get an idea about how it works.
Jekyll also offers powerful support for code snippets:
<figure class="highlight"><pre><code class="language-ruby" data-lang="ruby"><span class="k">def</span> <span class="nf">print_hi</span><span class="p">(</span><span class="nb">name</span><span class="p">)</span>
<span class="nb">puts</span> <span class="s2">"Hi, </span><span class="si">#{</span><span class="nb">name</span><span class="si">}</span><span class="s2">"</span>
<span class="k">end</span>
<span class="n">print_hi</span><span class="p">(</span><span class="s1">'Tom'</span><span class="p">)</span>
<span class="c1">#=> prints 'Hi, Tom' to STDOUT.</span></code></pre></figure>
Check out the [Jekyll docs][jekyll-docs] for more info on how to get the most out of Jekyll. File all bugs/feature requests at [Jekyll’s GitHub repo][jekyll-gh]. If you have questions, you can ask them on [Jekyll Talk][jekyll-talk].
[jekyll-docs]: https://jekyllrb.com/docs/home
[jekyll-gh]: https://github.com/jekyll/jekyll
[jekyll-talk]: https://talk.jekyllrb.com/
If you have difficulties with markdown file syntax, you can follow markdown_tutorials. It is super easy to learn.
Add Google Analytics to Your Blog
If you want to analyze your visitors and get more information about page views, you can add Google Analytics to your blog. Please see step 7 of this tutorial.
That’s all for this tutorial. I hope it helps for anybody who wants to create his/her own blog without having too much trouble. The best thing about github pages is that it is totally free. :)